How to clean your pool yourself: tips for water and filter maintenance
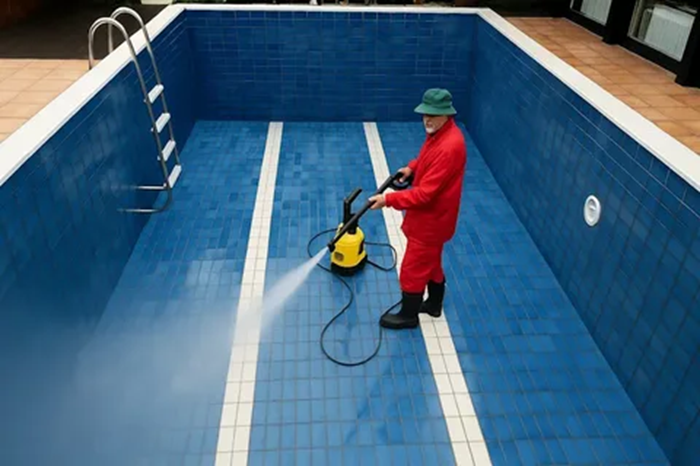
Regularly cleaning your pool yourself helps maintain water clarity, reduces chemical consumption, and extends the life of your equipment.
Even a slight delay in scheduled maintenance can quickly lead to scale, cloudiness, and algae growth, so it’s important to take a systematic approach.
Home cleaning consists of mechanical cleaning, filtration, and proper chemical treatment. Below is a clear procedure and practical tips suitable for most frame and in-ground pools.
Recommendations for Regular Maintenance
To keep your pool clean without rushing, stick to a simple schedule and avoid water parameters becoming unbalanced. Consistency is usually more important than one-time, “drastic” measures.
- Daily/every other day: net the surface, briefly inspect the baskets and water level.
- 1–2 times a week: brush the walls, vacuum the bottom, test the pH and disinfect, adjust if necessary.
- As needed: rinse/clean the filter, add an algaecide, or clarifying agent (coagulant) if turbid.
- Prevention: cover the water with a cover, reduce dust and leaf debris, and control the number of swimmers.
If you’re planning a new pool and want to install a convenient filtration system, automation, and service areas right away, you can order pool construction at aqualand-pools.com/ and discuss in advance solutions that will simplify future DIY cleaning.
Testing water with test strips: pH, free chlorine, and alkalinity before starting work
Before any pool cleaning, it’s important to understand the current water condition: accurate readings help safely perform mechanical cleaning, filter backwashing, and subsequent chemical treatment without fluctuating parameters.
Test strips provide quick monitoring of three key values: pH, free chlorine, and total alkalinity. Measure them before starting work and record the results to more accurately adjust reagent dosages.
How to test and what is considered normal
- Prepare a sample: draw water from a depth of 20-30 cm, away from nozzles, skimmers, and chemical application areas.
- Immerse the test strip for the time specified by the manufacturer, then shake off any drops (do not wipe).
- Pause until the scales appear (usually 10-30 seconds) and compare the colors with the standard on the tube.
- Record the readings and make adjustments before the main cleaning cycle.
- pH: Reference 7.2-7.6. At lower pH, water becomes more aggressive toward metals and coatings; at higher pH, chlorine is less effective and cloudiness occurs more quickly.
- Free chlorine: Reference 1-3 mg/L for regular use. Before intensive cleaning, it’s more convenient to work when the level is normal (without sudden increases) to avoid skin irritation and odor enhancement.
- Total alkalinity: benchmark 80–120 mg/L. This is a pH “buffer”: at low alkalinity, the pH fluctuates, while at high pH, it’s difficult to adjust and can rise.
Bottom line: Before starting cleaning, be sure to test the water with test strips and first adjust the alkalinity, then the pH, and only then adjust the free chlorine. This procedure reduces chemical consumption, increases disinfection efficiency, and makes subsequent cleaning faster and safer.